Showing posts with label Science. Show all posts

Monday, March 26, 2012

Science Contributions- Inflectional Endings, Homophones - GIVEAWAY!

Do you love science? Do your students love to learn new things? My students do!! They have been loving all of the nonfiction texts we have been using units lately!! I'm also trying to prepare for Common Core and next year.  We will have to do a FULL six weeks on American Contributors. I thought we would start by learning about some famous inventors. 

I also created science themed centers to go along with this theme. Skills taught include: Science Vocabulary, Aviation Words, Inflectional Endings, Homophones, and MORE!
Here is a PEEK:
I checked out lots of Biographies about Inventors:
We started the week off learning about Benjamin Franklin!! My students LOVED it!! They recorded some facts in a Science Contributors Notebook!
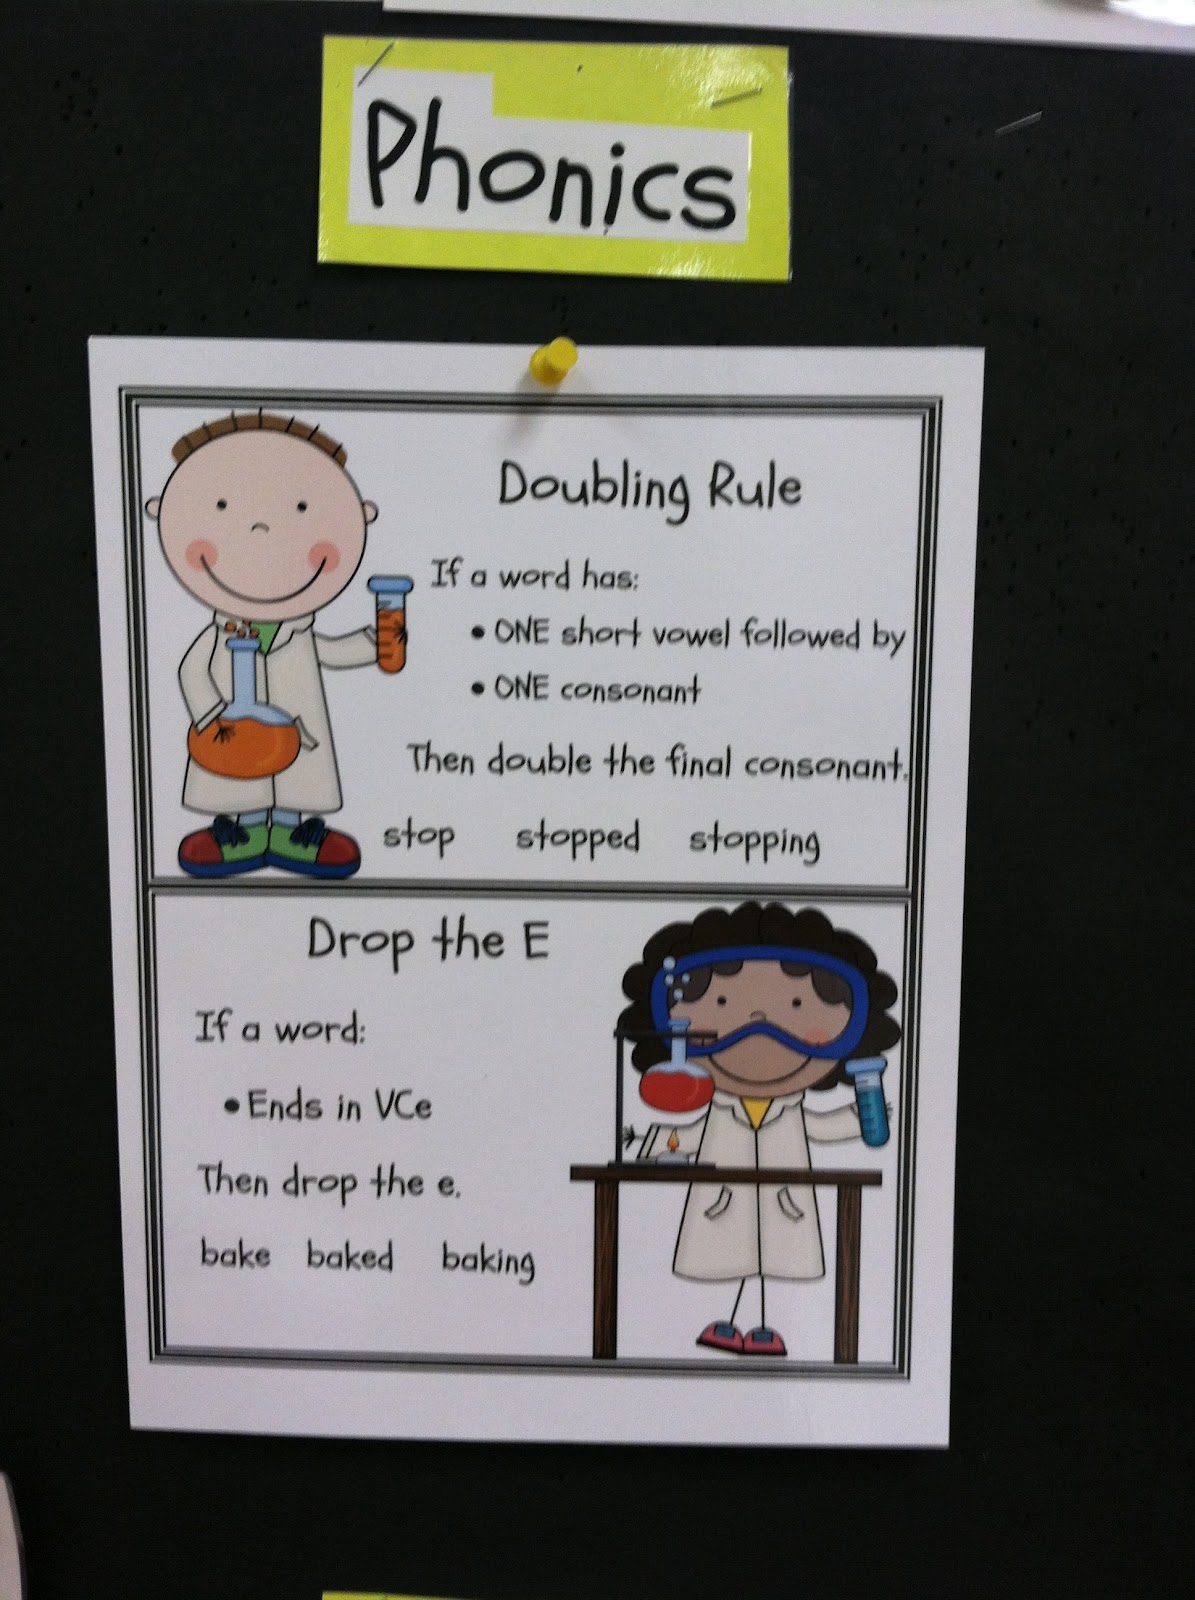
Here is a picture of my anchor chart!  I forgot to take a picture of the student's notebooks! Sorry!
The students practiced some Science Vocabulary Words.

In Word Work or Phonics students practiced Inflectional Endings.  The students learned the double rule and that sometimes you have to drop an e BEFORE you add -ed or -ing. 


The students became word inventors by heating some potions and building a new word!!  They LOVED this activity!   


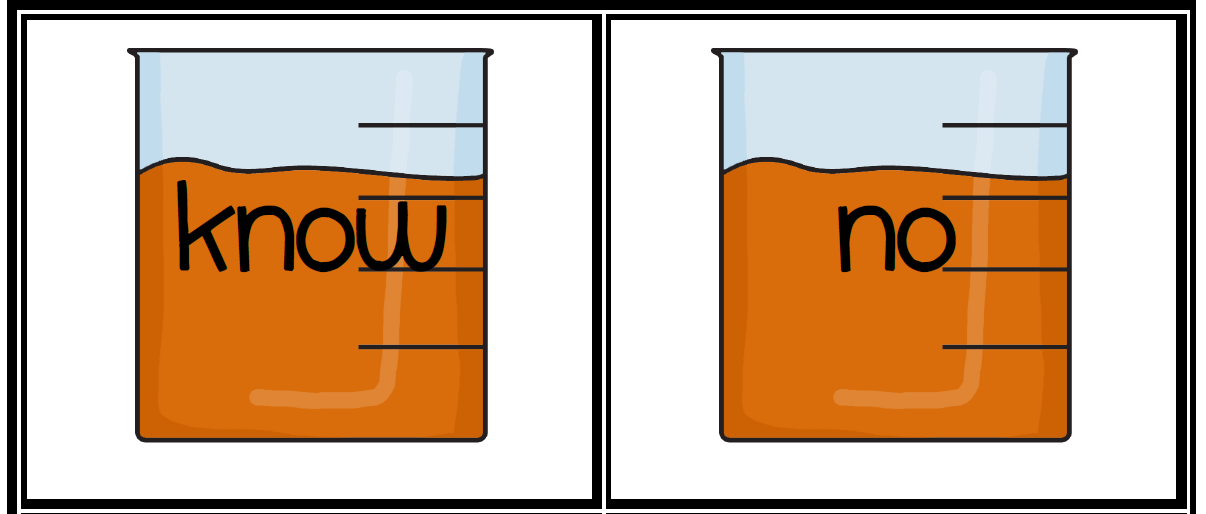
We also practiced matching homophones!

In this unit I also included a vocabulary activity where the students used aviation words to create an Airplane Adventure book.

Here is part of my sample:
 

The students practiced word wall words to write about what they would like to INVENT! 


I will giveaway THREE copies of this unit to the first THREE people to comment.  Be sure to leave your email so I can send you a copy!!

Monday, April 11, 2011

Plant Art Activity

Plant ART activity

I found these great foam flowers at AC Moore several years ago.  My students created a 3D flower picture with the foam petals, yard roots, and sun rays.  Then they labeled the parts.

Tuesday, March 29, 2011

Soil Explorations

I wanted to share a few samples from our soil explorations:
One of the main things I wanted my students to learn was the difference between: soil, clay, and sand.  Since I live in North Carolina most of our SOIL is actually sand.  I sent each child home with a sandwich bag.  Each child was suppose to fill their bag up with the soil from their backyard.  I was SUPER, EXCITED when they started to come in  because --  just has I had hoped they were all different make-ups – some clay, some dirt, some sand, some of with several types in one bag.  The students were also able to see “things” that are often found in sand.  We were able to see – grass, twigs, bugs, ants, and even a crayon in our samples. 
 
I had the students first exam their own sample.   I pinched a sample and taped it to their page.  Then each student looked and compared three more samples.  Again, I pinched these samples and taped them to the page.  This really helped students see the color, texture, and ability to stick to tape ;) differences. 

We also made a soil layer jar.  Tomorrow we will make DIRT CAKE!!  I can’t wait to EAT IT!!
Next we will be learning about how soil helps plants and then we will learn about ROCKS! 
Here are some rock ideas I can't wait to try!! 
First Grade Teaching - Rocks
I want to do a lot with measurement.  How long is it? How much does it weigh?
Chalk Talk - Rocks
I love the Rock flow chart and the Dirt Cup!! 
I use this site a lot in my classroom! 
There is a great game where students can find real world examples of rocks.
Pictures of rocks and samples of the correct names for rocks by size.
Feel free to share any more ideas you have!! 

Tuesday, March 15, 2011

Diggin' Up Some Soil

We are preparing for a Unit on Soil.   I’m trying to come up with some ideas . . .  I want to create a soil layer jar. 
I am also having each child bring in a Soil Sample from their back yard.  Once everyone brings there sample to school I’m going to have the student’s use magnifying glasses to exam the soil.  I created this sheet for the students to record their results.

I’m still deciding what else I want to do.
Does anyone else have any great ways they teach soil in their classroom? 


Tuesday, February 1, 2011

Learning to Balance


I have been teaching my students all about balance.  We started off by learning to balance standing on one foot.  My students quickly learned if they put their hands out, picked a focus point, and stood up nice and tall it was much easier to balance. 
I read my students the book called, Equal Shmequal where animals use a seesaw to help them find equal teams for tug-of-war. 
My student’s loved the book and it helped them understand why putting their hands out helps spread out their weight.  We also learned it was EASY to balance a cup and a HARDCOVER book on our head; however, it was HARD to balance a sheet of paper.   Here are a couple of samples of our recordings. 

Tuesday, November 2, 2010

Boat Float

We have been learning about solids and liquids.  We experimented with testing many objects in water to see what would sink and what would float.  We also tested all kinds of plastic bowls and cups to see which one would make the best boat:

dollar section at target several years ago

 "the winner" -  We decided it must be because it is wider and has straight sides.
This really helped the students see why a boat must be balanced.

Next, the students made their own foil boat! 

Each student recorded how many frogs their boat held.

They also recorded this in their Learning Log!

The winning boat!!

It held 164 frogs!!! 


Tuesday, September 28, 2010

Pumpkin, Pumpkin . . .

This week we read the story Pumpkin, Pumpkin by Jeanne Titherington. 
Pumpkin Pumpkin
After reading the story we talked about how a pumpkin grows from a seed, to a sprout, to a flower, to a green pumpkin, then a small orange pumpkin, and then finally a full grown PUMPKIN!  I wanted the students to be able to share this story at home.  I gave each student to paper plates to paint orange. 
Then each student colored and cut out the life cycle of a pumpkin. 
After each student had colored and cut out the parts we stapled them to some fun, root looking yarn.  Next, we stapled the end of the yarn that was attached to the small orange pumpkin to the plate.   (This allowed the students to pull out each phase of the cycle as they told the story.)  We then stapled the two plates together to make a pocket and added a stem
pumpkins start as a seed
 then they grow a stem and a flower

after the flower, comes a green pumpkin, and an orange pumpkin
The students LOVED the craft and they were excited to take it home to share it with their families.